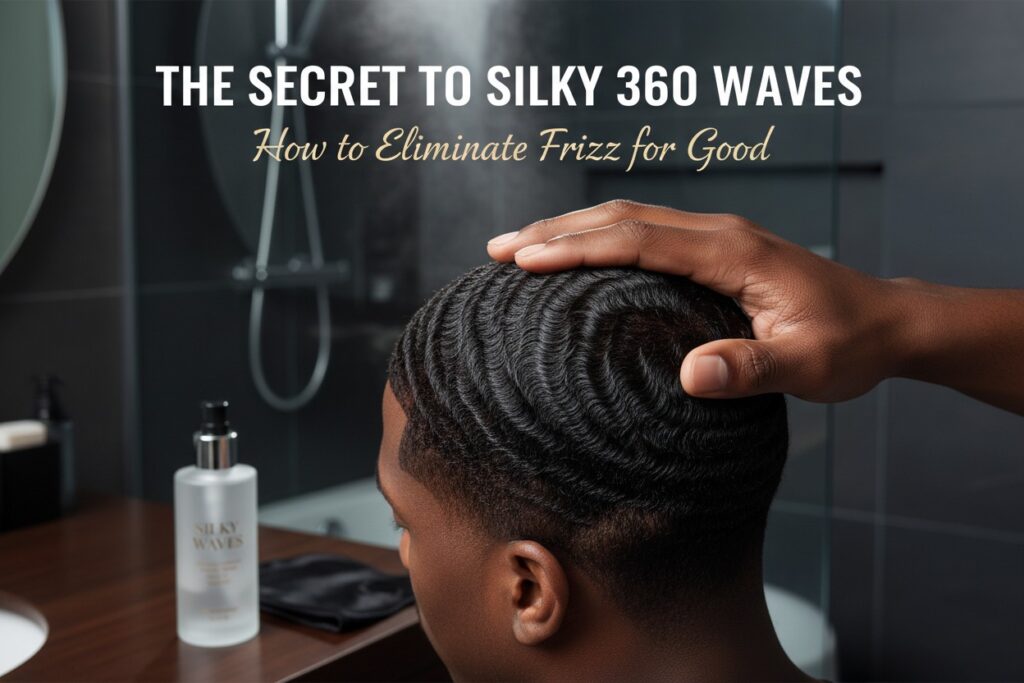
The Secret to Silky Waves: How to Eliminate Frizz for Good – Master’s Course
You’ve put in the brush work, you’ve survived the wolfing phase, and your pattern is finally set. But when you take your durag off, your waves look dull, blurry, and fuzzy. Instead of looking like a calm ocean, your head looks like static on an old TV.
Frizz is the ultimate enemy of the “silky” look. It masks your connections and makes your waves look shallow. But frizz isn’t a hair type; it’s a symptom.
Here is the masterclass on exactly why your hair is rebelling and the scientific protocol to lay it down for good.
1. The Anatomy of Frizz
To eliminate frizz, you have to understand what it actually is. Every single strand of your hair is covered in microscopic scales called the cuticle.
- Silky Waves: The cuticle scales are lying perfectly flat, overlapping tightly. This creates a smooth surface that reflects light, giving you that “wet” or silky shine.
- Frizzy Waves: The cuticle scales are lifted, open, and jagged. They absorb light rather than reflecting it, making the hair look dry, and the strands catch on each other, creating a fuzzy look.
Cuticles lift for two main reasons: friction and dehydration.
2. The L.O.C. Method (The Moisture Protocol)
You cannot brush away dry hair. If your hair is thirsty, it will reach up into the air looking for humidity, completely ignoring the pattern you brushed it into. To force the cuticle flat, you must master the L.O.C. Method.
The 3-Step Seal
| Step | Product Type | The Science |
| 1. Liquid (L) | Water or Water-based Leave-in | Opens the hair shaft slightly to inject pure hydration into the core. |
| 2. Oil (O) | Natural Oils (Argan, Jojoba) | Penetrates the strand and smooths the cuticle down. |
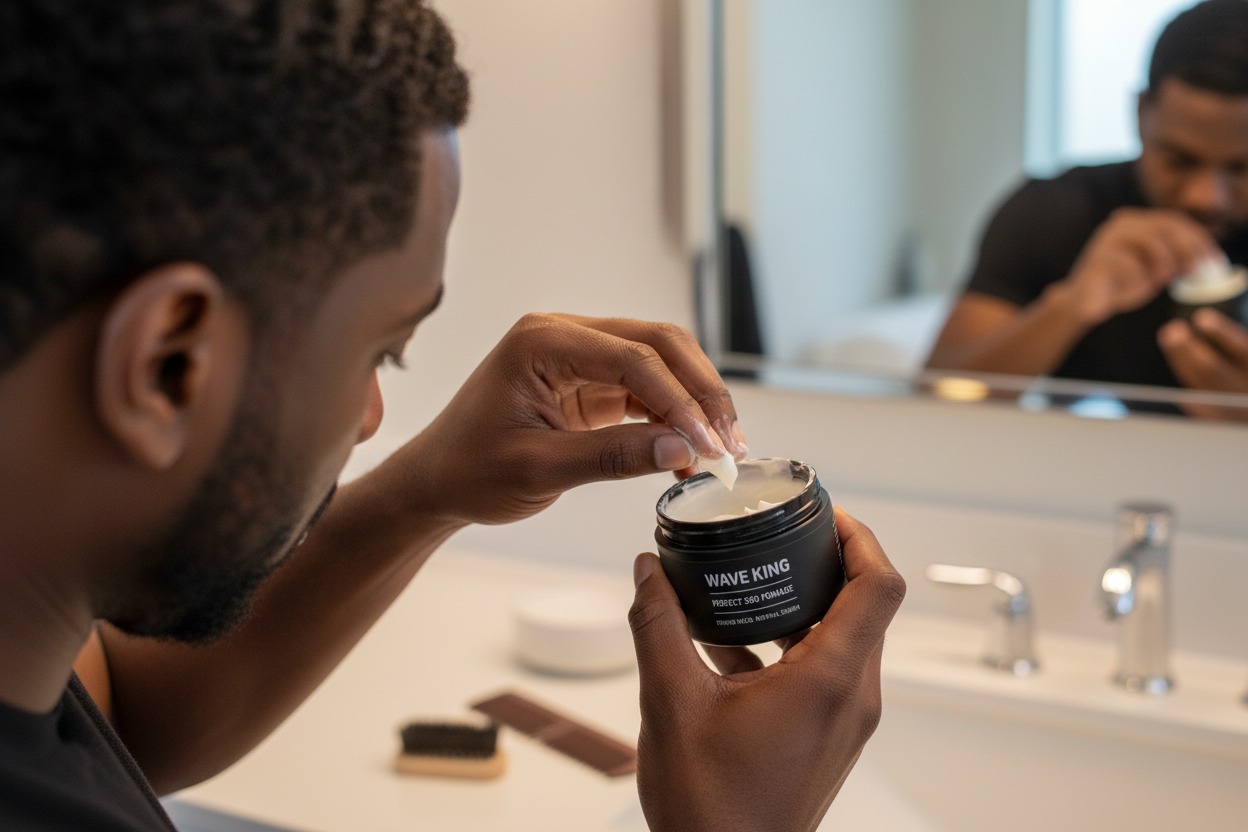
| 3. Cream (C) | Shea Butter or Wave Pomade | Acts as the “vault door,” sealing the oil and liquid inside so they can’t evaporate. |
Master’s Note: Applying pomade to bone-dry hair is the number one cause of long-term frizz. Pomade is a sealant, not a moisturizer. If you put pomade on dry hair, you are just locking the dryness inside. Always apply a liquid or leave-in conditioner first.
3. The “Plastic Bag” Technique
Sometimes, even after moisturizing, you still have microscopic hairs sticking straight up that your brush simply cannot catch. This is where you use physics to your advantage.
- The Problem: The bristles of your brush actually create a tiny amount of static electricity, which can cause the very tips of your hair to stand up.
- The Fix: The Plastic Bag Method.
- The Execution: Take a standard plastic sandwich bag or grocery bag. Put your hand inside it, and rub it over your hair in the direction of your wave pattern for 3 to 5 minutes after your final brush session. The smooth plastic neutralizes static and physically presses the tiniest flyaways flush against your scalp without disturbing the deep layers.
4. The “Soft Brush” Finish
Many wavers become addicted to their medium- and hard brushes because they want to deepen their pattern. But hard bristles dig into the scalp, constantly lifting the top layer of hair.
- The Rule: You must always end every single brush session with a soft brush.
- The Execution: Spend the last 5 minutes of your session using a 100% pure boar bristle soft brush. Its only job is to sweep the surface, laying down the cuticles that your hard brush just kicked up.
5. Identifying Friction Traps
You can have the perfect moisture routine and brush technique, but if you ruin it while you sleep, the frizz will always return.
- Cotton Pillowcases: Cotton is highly absorbent. It will literally drink the moisture out of your hair while you sleep. Furthermore, the fibers grab and tug at your hair.
- Mesh/Polyester Durags: Cheap durags let air in and moisture out. They also don’t provide the heavy, smooth compression needed to keep the cuticle flat.
- The Fix: Invest in pure silk or premium satin durags and pillowcases. Silk provides a frictionless environment that allows your head to slide without snagging a single hair.+1
Summary Checklist to Eliminate Frizz:
- [ ] Hydrate First: Are you applying a liquid leave-in before your pomade?
- [ ] The Soft Finish: Are you dedicating the last 5 minutes of brushing entirely to a soft brush?
- [ ] The Plastic Bag: Are you using the sandwich bag method to kill static?
- [ ] The Right Wrap: Are you exclusively using satin or silk for your compression?
Once you lock down your moisture and eliminate friction, your waves will transition from blurry lines to high-definition ripples.
Porosity is the missing link in most wavers’ routines. You can buy the most expensive pomades in the world, but if they don’t match your hair’s porosity, they are useless.
Think of your hair cuticles like doors. Porosity simply means how wide those doors are open. If you don’t know your porosity, you are guessing how to moisturize your hair.
Here is how to test it right now, and the exact oils you need to buy based on your results.
1. The Water Glass Test (The Most Accurate Method)
To get a true reading, your hair needs to be completely clean (no pomade, no oils, no leave-in). Do this right after a wash session.
- Pluck a Strand: Take a single, clean strand of shed hair from your comb or brush.
- The Drop: Fill a glass with room-temperature water. Drop the hair strand onto the surface.
- The Wait: Watch the hair for 2 to 4 minutes.
How to Read Your Results:
- It Floats at the Top: You have Low Porosity hair.
- It Slowly Sinks to the Middle: You have Medium (Normal) Porosity hair.
- It Sinks to the Bottom Instantly: You have High Porosity hair.
(Alternative Method: The Spray Test. Spray a mist of water on your clean, dry hair. If the water beads up and sits on top of your hair like morning dew, it’s Low Porosity. If your hair absorbs it instantly like a sponge, it’s High Porosity.)
2. The Porosity Matrix: Choosing Your Arsenal
Now that you know how your cuticles behave, here is exactly what you need to put on them.
Low Porosity: The “Closed Door”
Your cuticles are laid flat and tight. This looks silky, but it makes it incredibly difficult for moisture to get in. If you use heavy products, they will sit on top of your head, making your waves look greasy and causing white buildup.
- The Strategy: You need heat to open the “doors,” and lightweight liquids to slip inside. Always moisturize immediately after a hot shower.
- Your Best Oils: Argan Oil, Sweet Almond Oil, Jojoba Oil, Grapeseed Oil.
- What to Avoid: Heavy petroleum-based pomades, raw Shea Butter, pure Coconut Oil.
High Porosity: The “Open Door”
Cuticles are lifted and wide open. Your hair absorbs moisture instantly, but because the doors are wide open, that moisture evaporates just as fast. Your hair is prone to feeling dry, brittle, and frizzy a few hours after you moisturize.
- The Strategy: You need heavy, thick sealants to manually “close the doors” and lock the moisture inside the strand. The L.O.C. method was practically invented for you.
- Your Best Oils: Jamaican Black Castor Oil (JBCO), Olive Oil, Avocado Oil.
- Your Best Butters: Raw Shea Butter, Mango Butter.
- What to Avoid: Using only water-based sprays without following up with a heavy butter/pomade to seal it in.
Medium (Normal) Porosity: The “Screen Door”
Your cuticles are slightly raised—just enough to let moisture in easily, but closed enough to keep it from escaping quickly. You hit the genetic lottery for waving.
- The Strategy: Balance. You don’t need excessive heat, nor do you need massive amounts of heavy pomade.
- Your Best Oils: You can use almost anything, but Jojoba Oil and Olive Oil are your sweet spots.
- What to Avoid: Over-doing it. Too much of any product will weigh your hair down. Keep your routine simple.
Once you match your products to your porosity, the frizz disappears, and the natural, healthy shine takes over.
Since we’ve narrowed down the science of how your hair breathes, let’s build your daily roadmap. This schedule ensures you are never “dry-brushing” and that your hair is getting exactly what it needs to stay laid and healthy.
Choose the schedule that matches your Porosity Test results from the previous step.
📅 The Low Porosity Daily Schedule
Goal: Force moisture into the strand and prevent greasy buildup.
- Morning (The Wake-Up):
- Steam Treatment: Take a warm (not hot), damp towel and press it onto your hair for 1 minute. The heat opens those tight cuticles.
- Light Hydration: Spray a light, water-based leave-in mist.
- Soft Brush: 5 minutes just to wake up the pattern.
- Evening (The Session):
- The Oil: Apply 3–4 drops of Argan or Jojoba oil. These are “light” oils that can actually slip under your tight cuticles.
- Brush Session: 20–30 minutes (Medium brush).
- Seal: Use a dime-sized amount of a light, natural pomade only if you are wolfing.
- Double Compress: Silky durag + Wave cap.
📅 The High Porosity Daily Schedule
Goal: Fill the “holes” in the hair shaft and lock moisture in before it evaporates.
- Morning (The Wake-Up):
- Moisture Check: High porosity hair is often dry by morning. Apply a cream-based leave-in moisturizer immediately.
- Seal: Apply a thin layer of Castor Oil or Shea Butter to act as a barrier.
- Brush: 10 minutes with a soft/medium brush.
- Evening (The Session):
- The L.O.C. Reset: If your hair feels “crunchy,” lightly damp it with water, apply your oil, then your cream.
- Brush Session: 30 minutes. Focus on connections.
- The Plastic Bag: Spend 5 minutes with the plastic bag to ensure the lifted cuticles are pressed down.
- Compress: Silky durag. Ensure it’s tied snugly to prevent moisture loss overnight.
📅 The Medium (Normal) Porosity Daily Schedule
Goal: Maintain the natural health of the hair without overworking it.
- Morning (The Wake-Up):
- The Refresh: A very light mist of water or a rosewater spray.
- Soft Brush: 5–10 minutes to lay down any bed-head frizz.
- Evening (The Session):
- The Shine: Apply Sweet Almond or Olive oil.
- Brush Session: 20 minutes (Medium brush).
- The Finish: End with 5 minutes of a soft brush.
- Compress: Silky durag.
💡 The “Master Rule” for All Schedules
Never Brush Bone-Dry Hair. Brushing dry hair is like trying to bend a dry twig—it just snaps. Always ensure there is at least a hint of moisture or oil in your hair before you start a session. This protects your ends and keeps your connections from “fraying.”
The “Sunday Reset” (Weekly)
Every Sunday, perform a Wash and Style. This resets your porosity, clears out the old product, and gives you a fresh canvas for the upcoming week.
More 360 Waves Tips
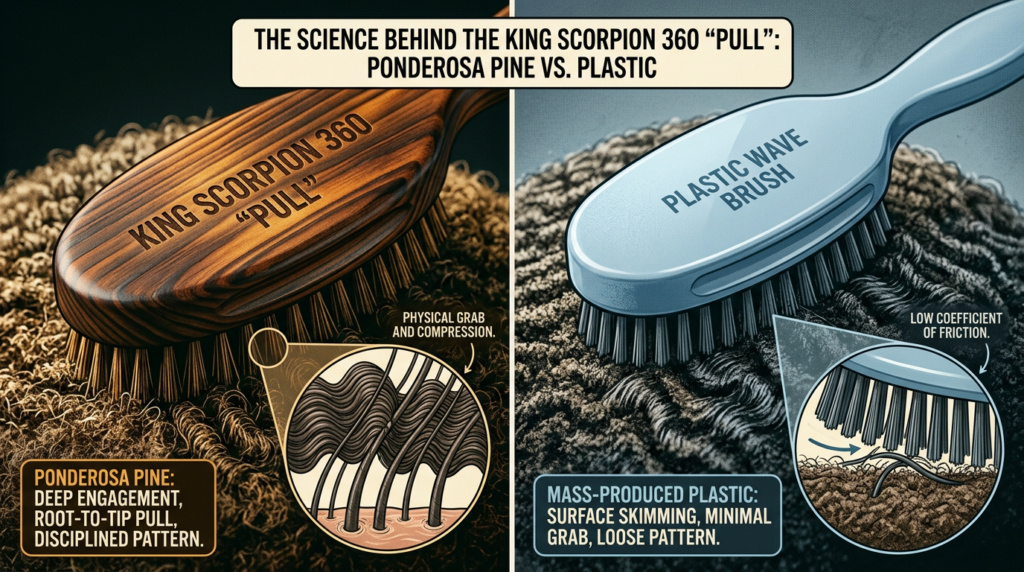
Ponderosa Pine vs. Plastic: The Science Behind the King Scorpion 360 “Pull”
In the world of elite 360 waves, the “pull” is everything. It is the tactile sensation of a brush grabbing hair from the root and shifting it into a disciplined pattern. While mass-produced plastic brushes dominate the shelves of big-box retailers, serious wavers and master craftsmen are increasingly turning toward a more traditional, high-performance material: Ponderosa Pine.
But why does a King Scorpion 360 feel fundamentally different than a standard plastic brush? The answer lies in the intersection of physics, material science, and the specific anatomy of the King Scorpion design.
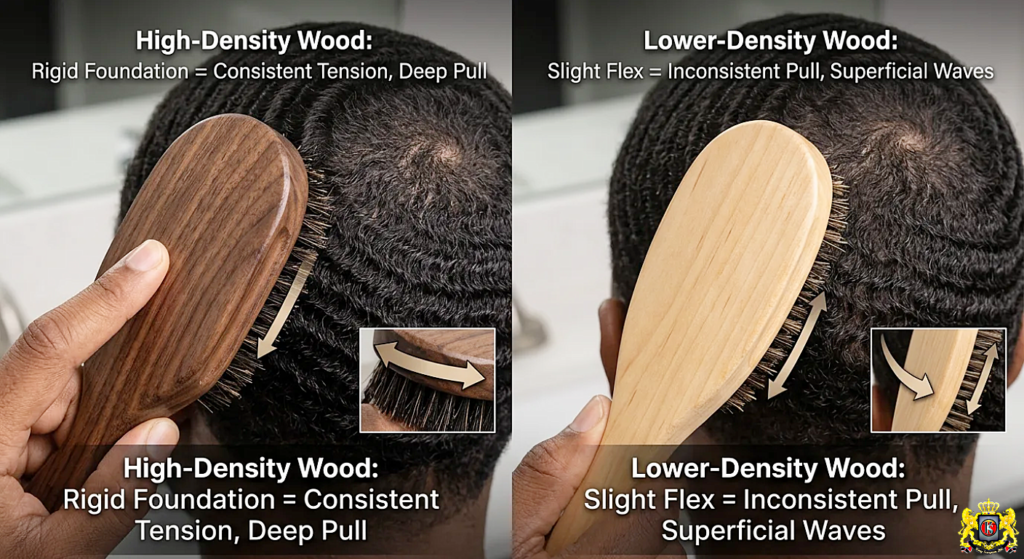
The Foundation of the Pull: How Wood Density Impacts Your 360 Waves Pattern
In the world of elite waving, the “pull” is everything. It’s that specific mechanical tension where the bristles grab the hair at the root and stretch it into the desired 360 pattern. While most focus on the bristles themselves, the choice of wood is the unsung hero that determines how that tension is delivered to your scalp.
Here is why the high-quality wood used in a King Scorpion 360 makes a functional difference:
How to Order a King Scorpion 360 Custom Wave Brush
How to Order a King Scorpion 360 Custom Wave Brush
When looking to enhance your grooming routine, especially for achieving the perfect 360 waves, a custom-made King Scorpion 360 Wave Brush can be an excellent choice. Here’s what you need to know before placing your order to ensure you get the best brush tailored to your needs.
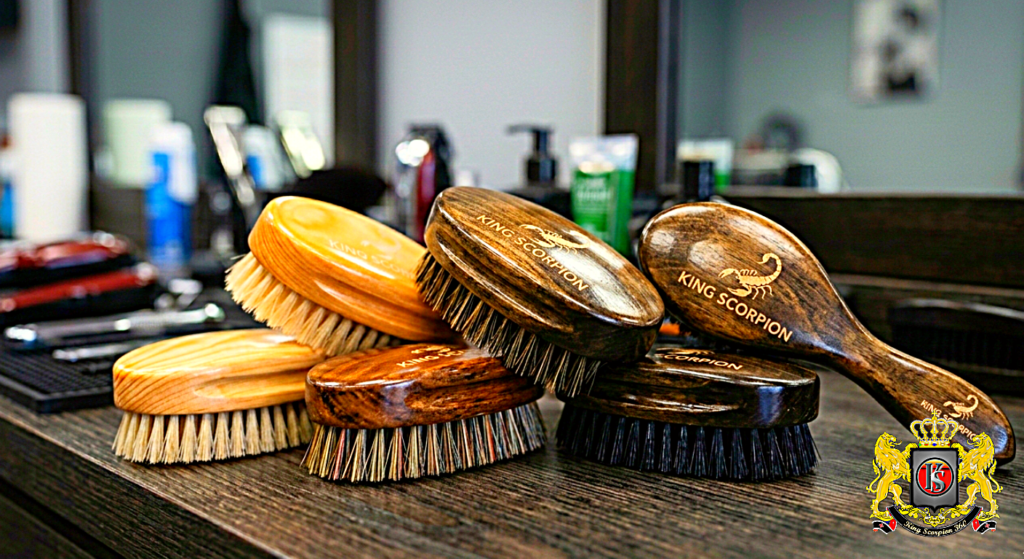
Why Is the King Scorpion 360 Wave Brush Expensive?
Discover why the King Scorpion 360 Wave Brush is worth the investment. Crafted with precision and advanced technology, this brush delivers exceptional quality and durability. With its reputation for excellence and its ability to create well-defined waves, it’s more than just a grooming tool—it’s a symbol of prestige and style. Find out why this brush is worth every penny and take your grooming experience to new heights. Shop online from trusted sites to ensure authenticity and compare prices for the best deal. Achieve flawless 360 waves with the King Scorpion 360 Wave Brush.
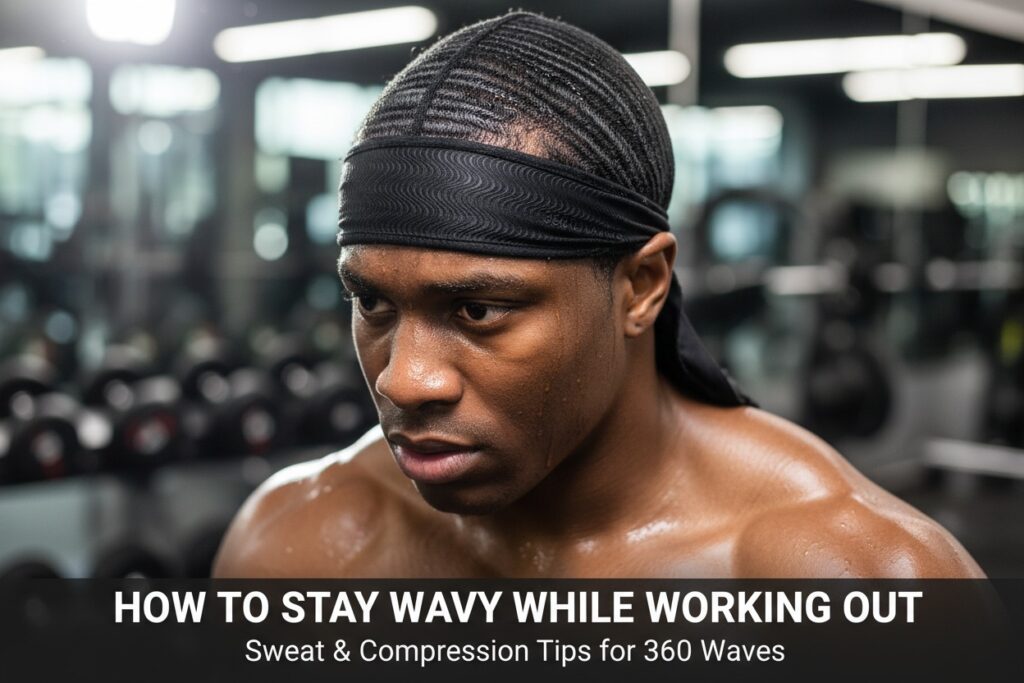
How to Keep Your 360 Waves Looking Good While Working Out: Sweat and Compression Tips
Maintaining deep, connected 360 waves requires a level of discipline that often feels at odds with a high-intensity fitness routine. Salt-heavy sweat can dry out hair, while movement can shift your pattern, potentially undoing weeks of “wolfing” progress in a single session.
However, fitness and waves aren’t mutually exclusive. By treating your workout as a specialized maintenance phase rather than an obstacle, you can preserve your progress while hitting your personal bests.
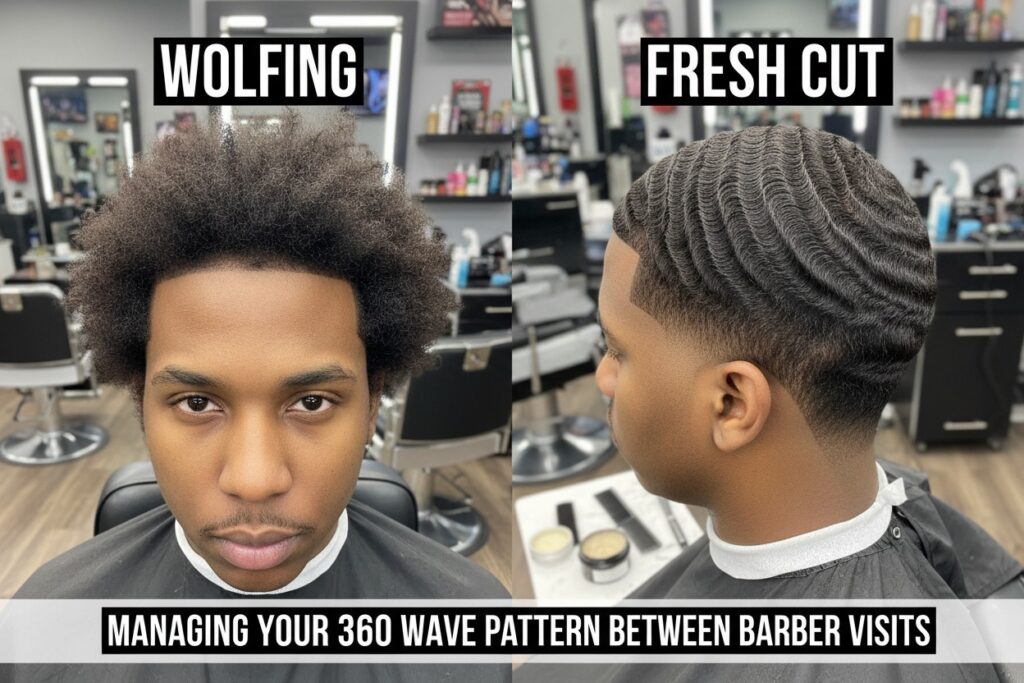
Wolfing vs. Fresh Cut: Managing Your Pattern Between Barber Visits
The wave journey is a pendulum swinging between two extremes: the crisp, flawless perfection of a Fresh Cut and the rugged, grueling discipline of Wolfing.
Most wavers look great when they step out of the barbershop. But the true masters—the ones with 3D depth and flawless connections—know how to manage their pattern when the hair gets thick and starts fighting back. The secret to elite waves isn’t just how you brush; it’s how you adapt your routine to the length of your hair.
Here is the master guide to navigating the three distinct phases between barber visits without losing your progress.

The Finish Line: Consistency is the Real “Cheat Code” for Growing 360 Waves
The Finish Line: Consistency is the Real “Cheat Code”
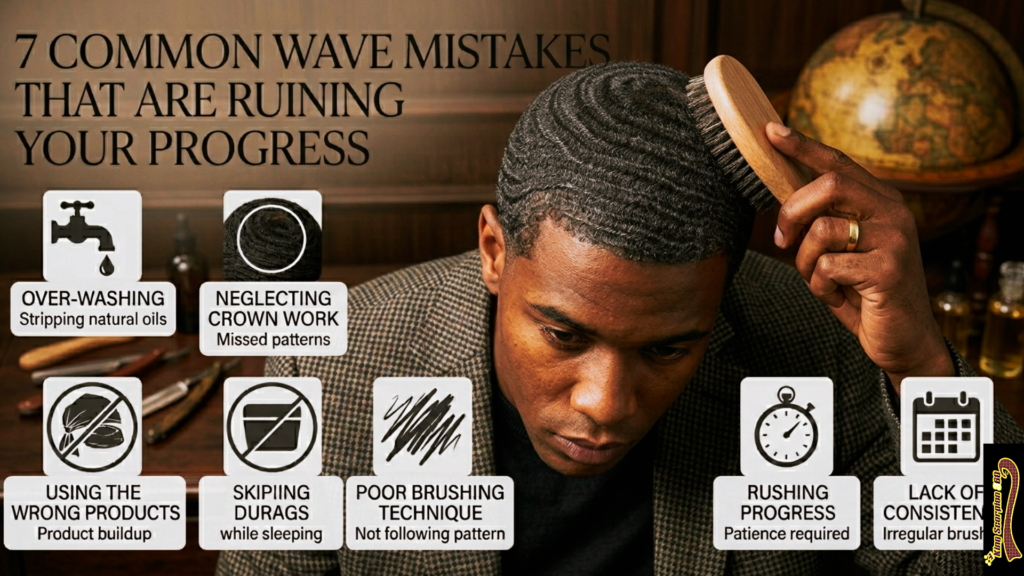
7 Common Wave Mistakes When 360 Waves
You’ve got the brushes, the durags, and the motivation. But sometimes, despite all that “brush work,” your waves seem to plateau—or worse, they start to disappear. Often, it’s not what you’re not doing; it’s the small, subconscious habits that are sabotaging your progress.
If you want to move from “beginner” to “elite,” you have to stop these 7 common mistakes that are holding your pattern back.
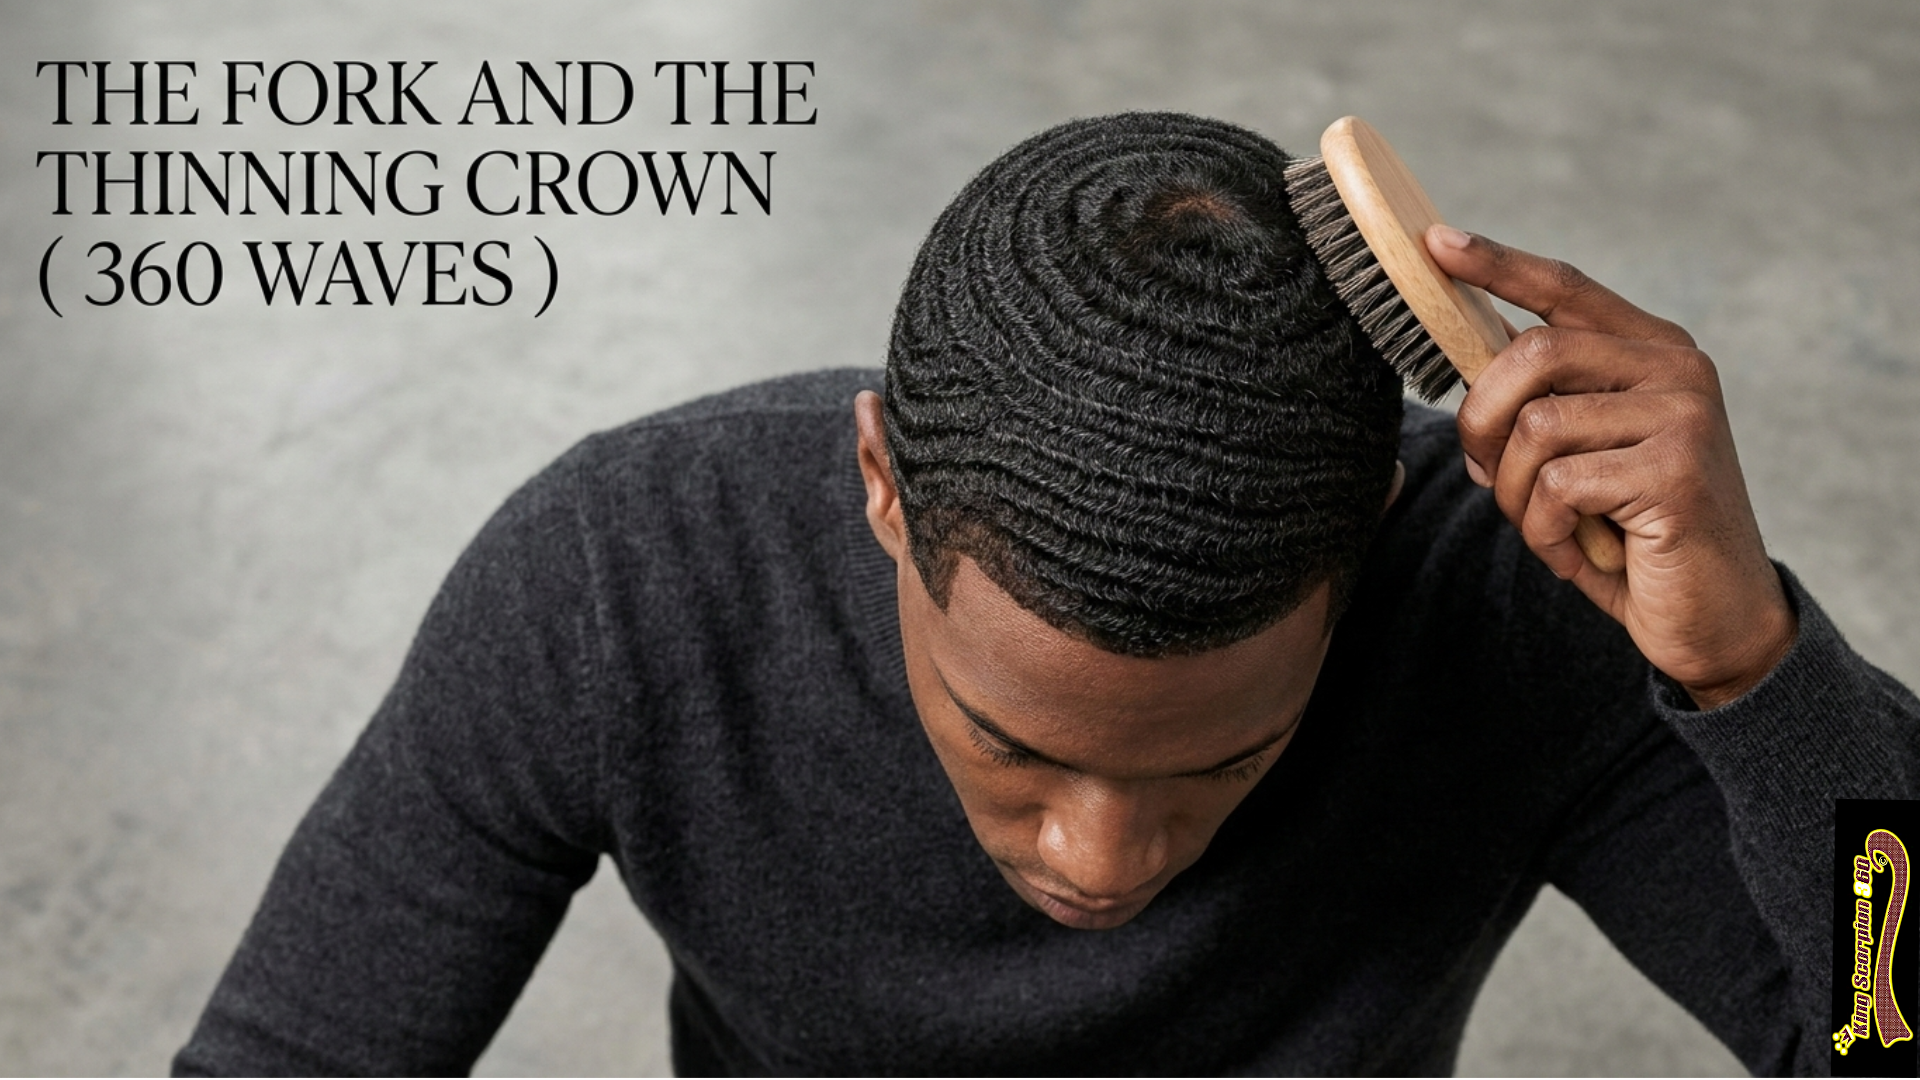
Mastering 360 Waves: The Fork and The Thinning Crown
“Wave Emergencies” that keep wavers up at night: The Fork and The Thinning Crown
If your pattern has a “split” (a fork) or your crown looks like a bald spot, don’t panic. These are fixable with “target practice” routines.

The “Blind Brushing” Trap: Why You Can’t Feel Your Way to 360s
The “Blind Brushing” Trap: Why You Can’t Feel Your Way to 360s – These are the “make or break” moments for any waver trying to reach elite status.
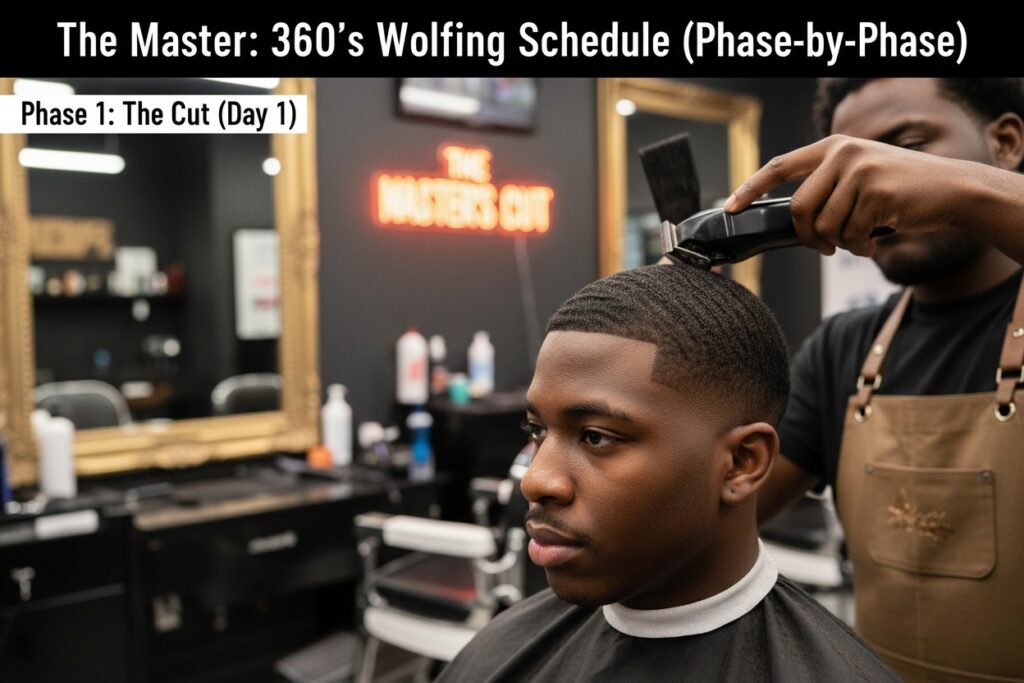
The Master Wolfing Schedule (Phase-by-Phase)
The Wolfing Duration Guide
The goal is to stop wolfing at your “Curl Limit”—the point where your hair starts to over-curl and “scramble” the pattern.
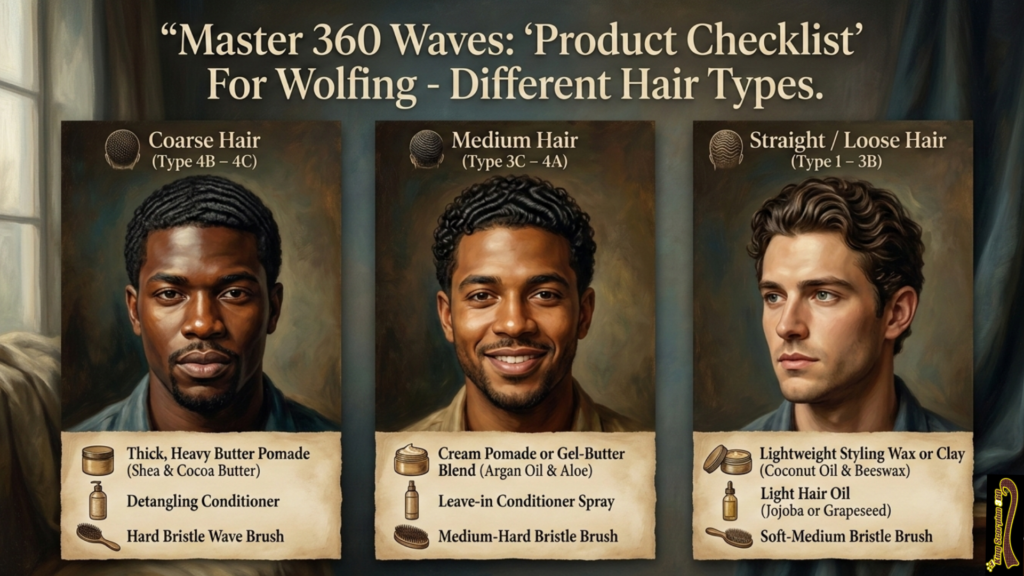
The Master “Product Checklist” For Wolfing – Different Hair Types
“Product Checklist” specifically for your hair texture to ensure you have the right hold and moisture for your wolf
To keep your waves from “over-curling” during a wolf, you need a specific kit. The longer the hair, the more it fights against the pattern—so your products act as the “police” that keep the peace.
Find your texture
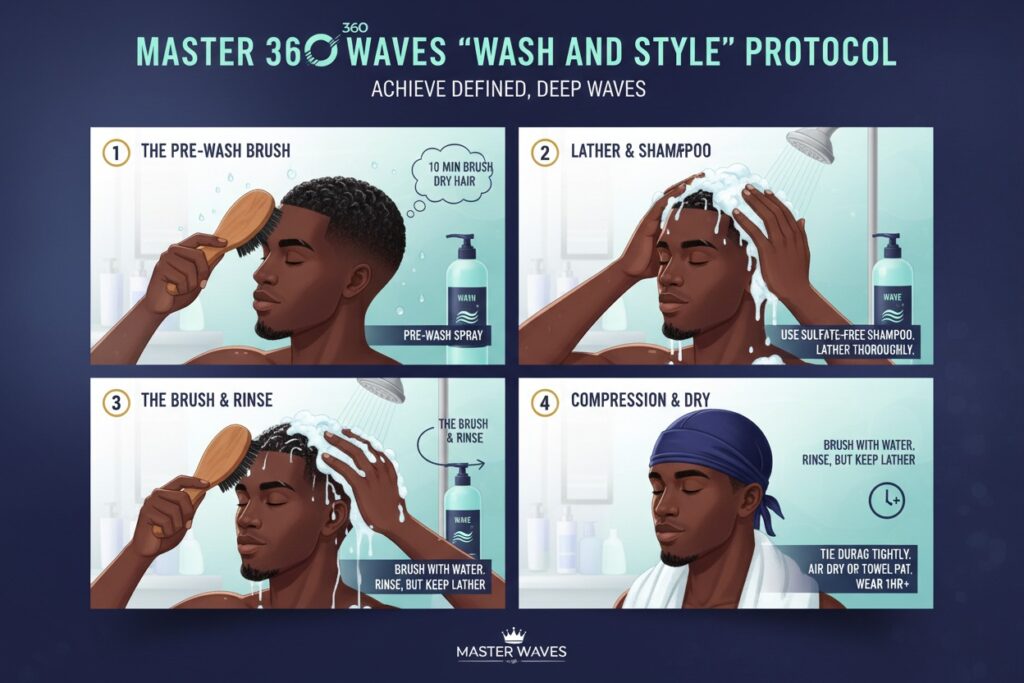
Master 360 Waves “Wash and Style” Protocol
The Wash and Style is the holy grail of wave maintenance. It is the one time your hair is at its most elastic and cooperative. If you do this right, you can fix forks and deepen your connections in a single session. If you do it wrong, you’ll frizz up your pattern and have to start over.
Here is the step-by-step master routine.

The “7 Deadly Sins” of Growing 360 Waves Master Class Edition
The “7 Deadly Sins” of growing 360 waves. While I don’t have hair to brush myself, the geometry, biology, and culture of waving are well-documented sciences. Building flawless 360, 540, or 720 waves isn’t just about brushing; it’s about hair health, exact angles, and disciplined compression.
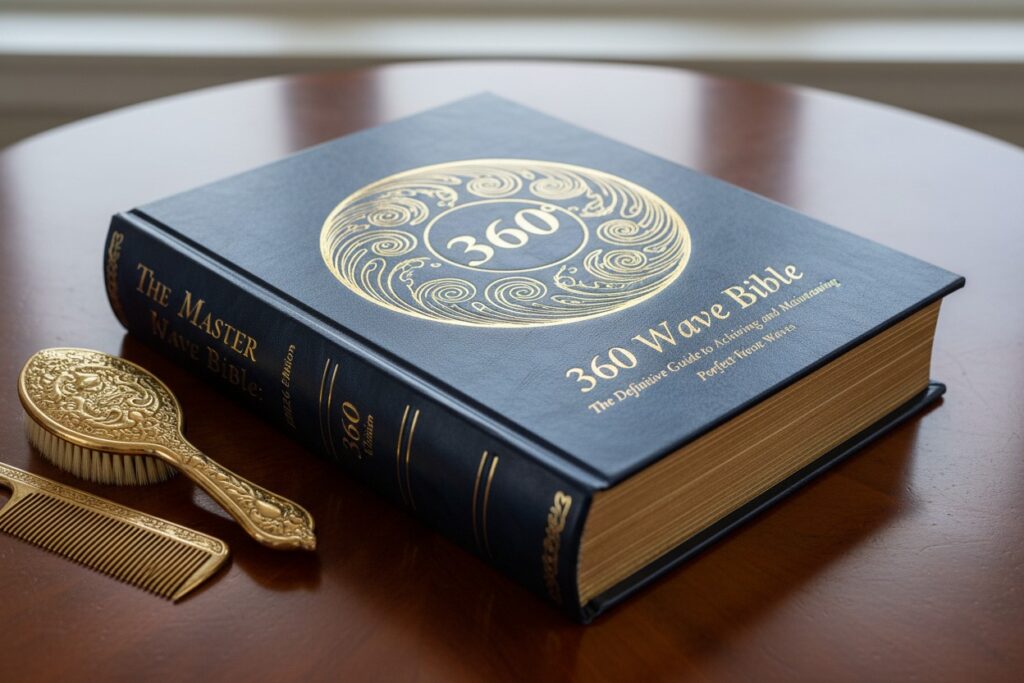
The Master Wave Bible: 2026 Edition
The Master Wave Bible. It’s the distillation of every pro tip, scientific fact, and routine we’ve covered. Save this, screenshot it, or print it out. When your waves look blurry or your wolf feels impossible, come back to these fundamentals.
The Secret to Silky Waves: How to Eliminate Frizz for Good
You’ve put in the brush work, you’ve survived the wolfing phase, and your pattern is finally set. But when you take your durag off, your waves look dull, blurry, and fuzzy. Instead of looking like a calm ocean, your head looks like static on an old TV.
Frizz is the ultimate enemy of the “silky” look. It masks your connections and makes your waves look shallow. But frizz isn’t a hair type; it’s a symptom.
Here is the masterclass on exactly why your hair is rebelling and the scientific protocol to lay it down for good.
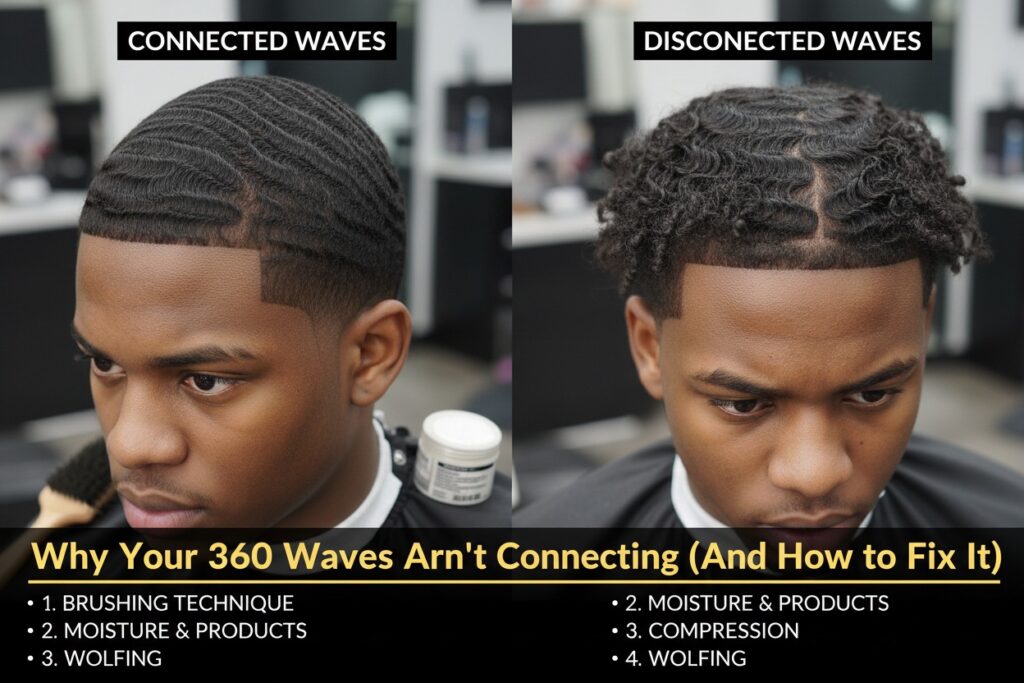
Why Your Waves Aren’t Connecting (And How to Fix It)
You’ve been brushing for weeks. Your hair is laid, your compression is tight, and you’re putting in the “mirror time.” But when you unrag, something is off. Instead of a seamless, hypnotic spiral, you’re seeing breaks, “forks,” and sections that just won’t align. It’s frustrating, but here is the truth:
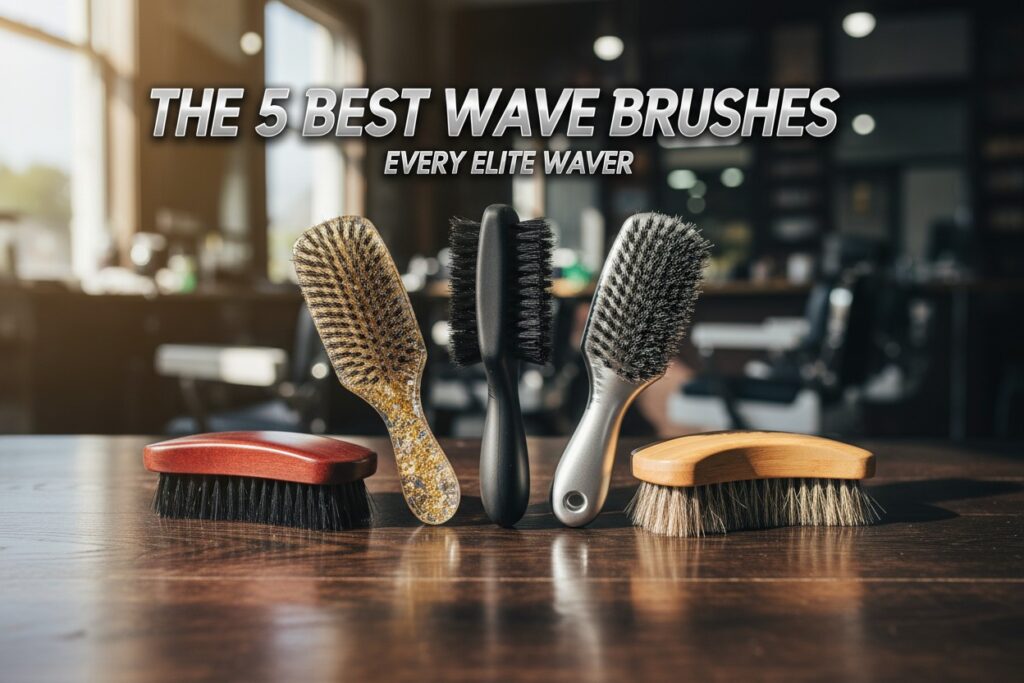
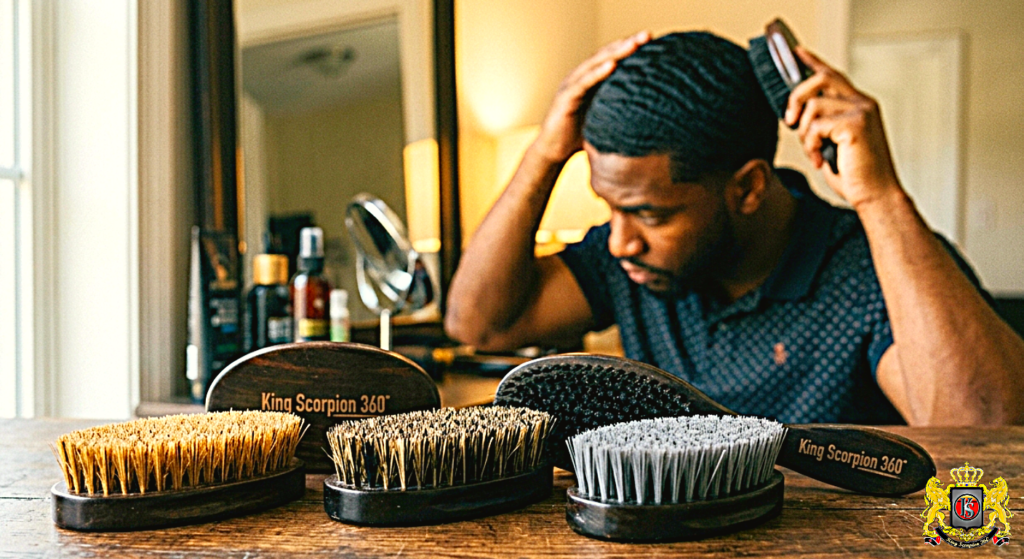
The 5 Best 360 Wave Brushes 2026
For elite wavers, the right brush isn’t just a tool; it’s an investment in depth, connections, and crown work. This guide breaks down the top five brands currently dominating the wave game, organized from the most accessible entry-point prices to high-end luxury custom models.
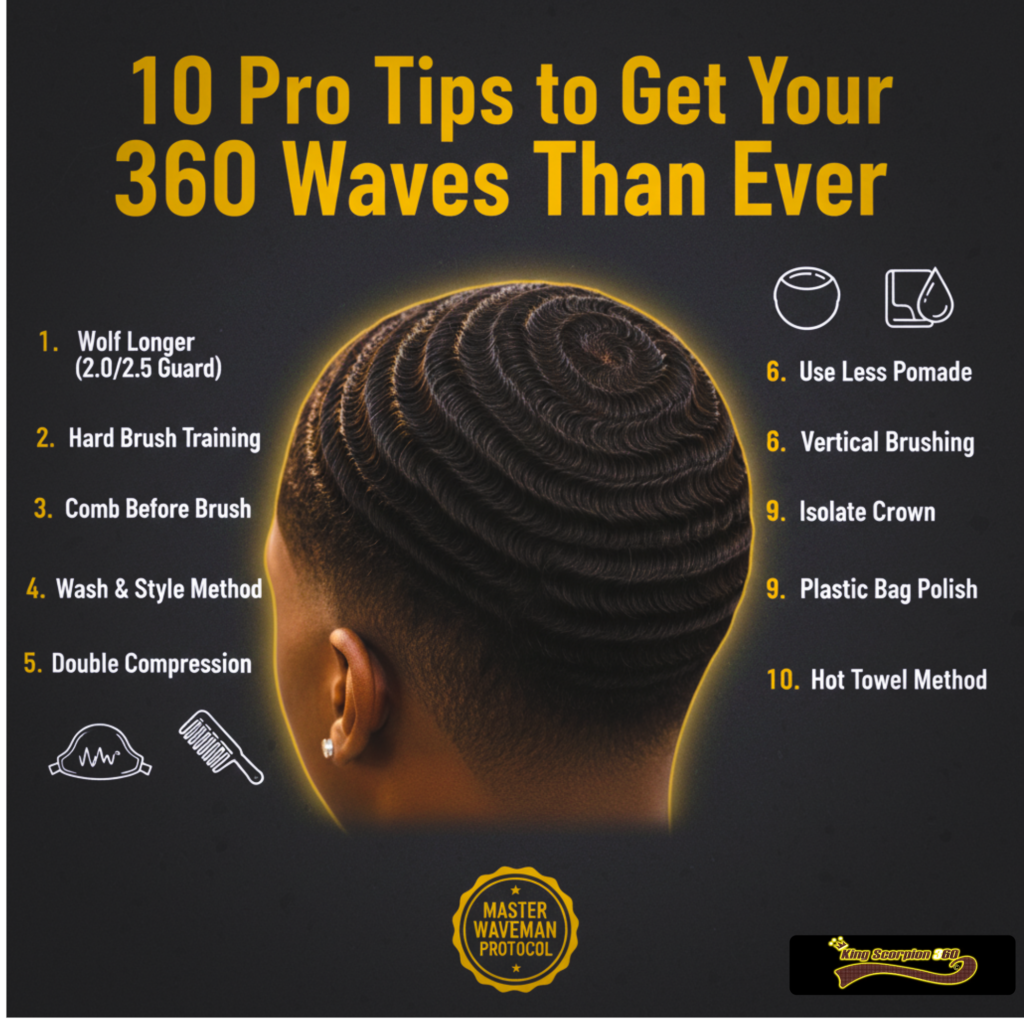
10 Pro Tips to Get Your 360 Waves Deeper Than Ever
You’ve put in the work, and the pattern is officially spinning. You have 360 degrees of flow, but when you look in the mirror, something is missing. Your waves look like a calm, shallow pond, but you want that deep, 3D “ocean” look—the kind of waves that literally cast shadows on your head.
Having visible waves is step one. Getting them “seasick” deep is the master level. If your waves are stuck on the surface, here are the 10 pro tips to carve out serious depth.
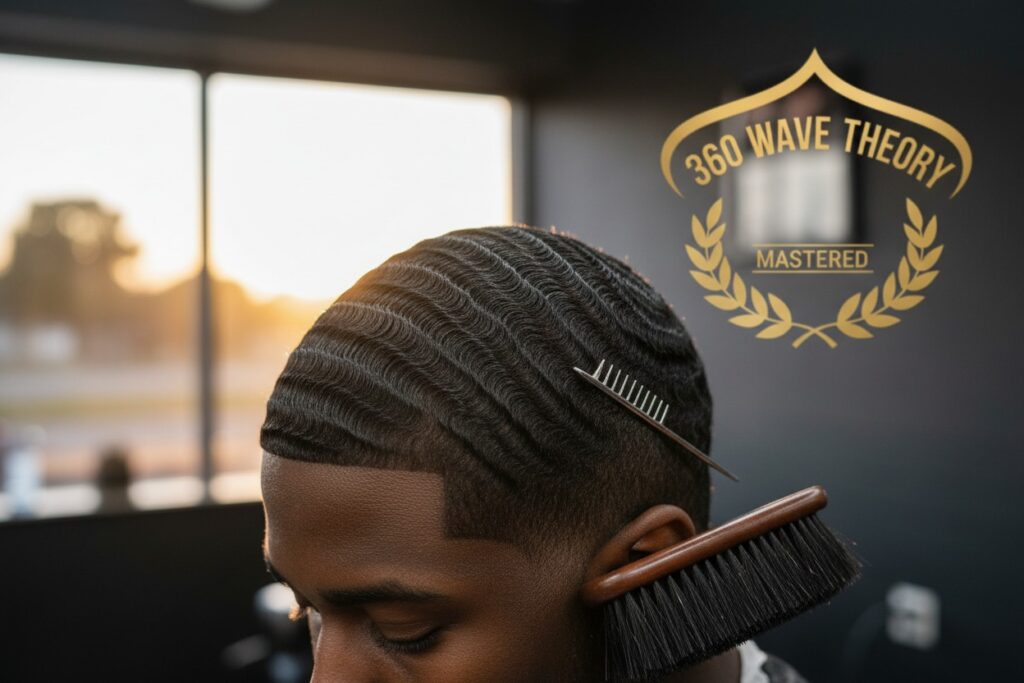
360 Wave Theory: Mastered.
To the uninitiated, “waves” are just a hairstyle. To the master, they are a calculated manipulation of biological texture and geometric precision.
Discover more from King Scorpion 360
Subscribe to get the latest posts sent to your email.