Step-by-Step: How to Get 360 Waves in 4 Weeks or Less

This is a crash course in achieving 360 waves.
Before we begin, we need to set expectations. Waves are laid-down curls. Getting them is not magic; it is a process of training your hair to grow in a specific pattern using tension (brushing) and compression (durags).
Can you get waves in 4 weeks? Yes. You can establish a strong, visible pattern in 30 days. However, you will not have deep, spinning, “elite” waves in four weeks. That takes months of “wolfing” (letting your hair grow out) and consistent training.
This guide is designed to get your foundation set and your ripples spinning fast.

Phase 1: The Setup & Toolkit
You cannot build a house without tools. Do not start this process until you have the following:
The Essentials:
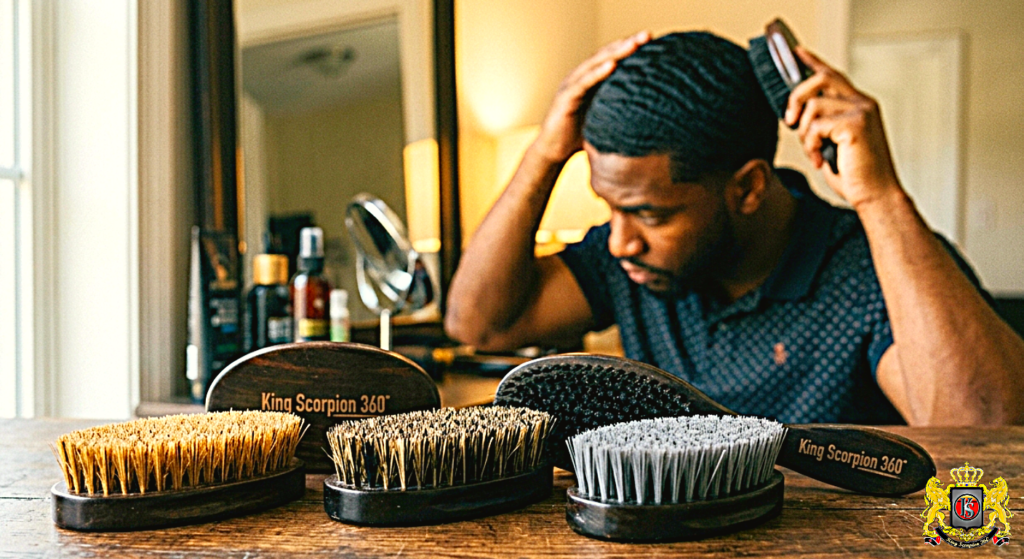
- The 360 Wave Brushes:
- Soft Wave Brush: For fresh haircuts and laying down frizz on top.
- Medium Wave Brush: Your daily driver. This does 80% of the work.
- Hard Wave Brush (Optional for now): You won’t need this until week 3 or 4 when your hair gets thick.
- Compression (The Durag):
- Get at least two silky durags. Polyester silks provide better compression and preserve moisture better than cotton.
- Moisture & Hold:
- Leave-in Conditioner or Moisturizer: Dry hair snaps; moisturized hair stretches and lays down.
- Natural Oil: To seal in moisture (Argan oil, Jojoba oil, or Black Castor Oil).
- Pomade/Butter (Optional): For extra hold, but avoid heavy, petroleum-based grease that clogs pores. A natural shea-butter-based wave pomade is best.
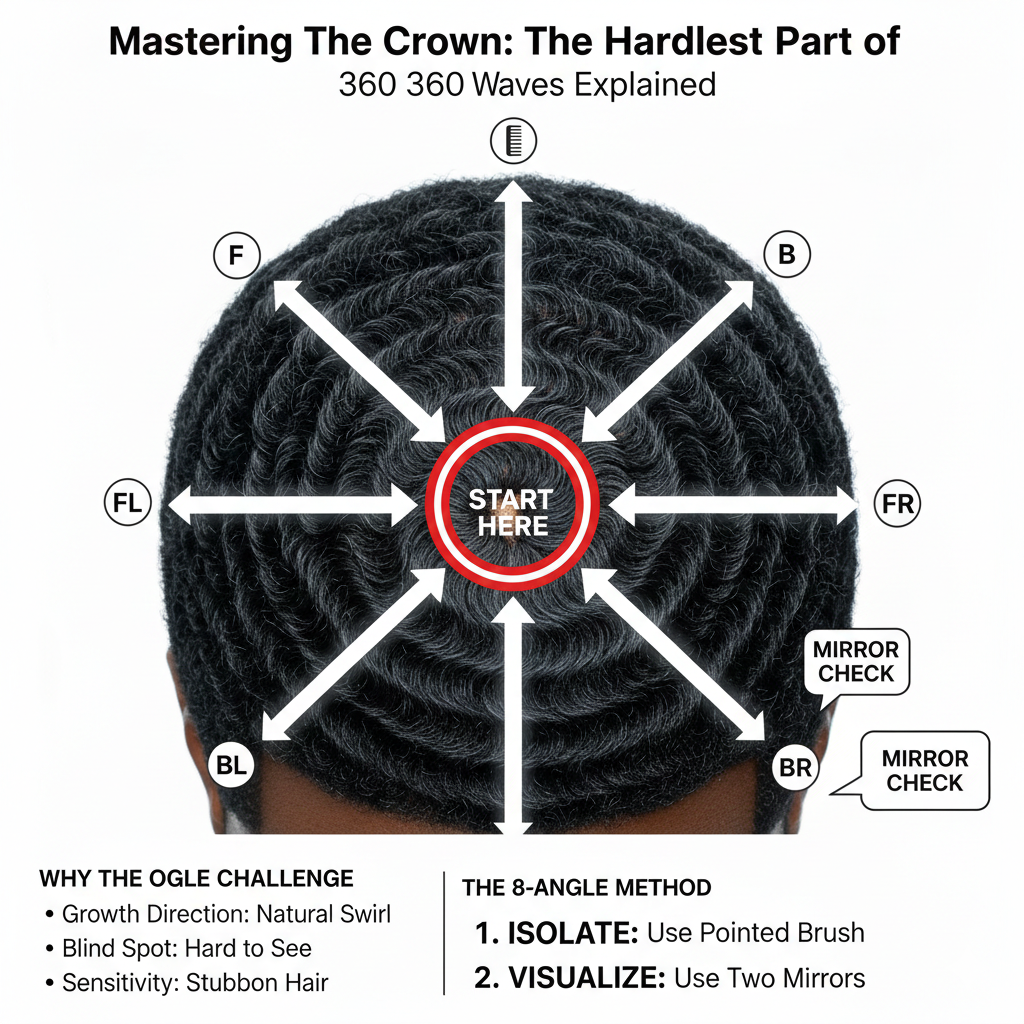
Phase 2: The Blueprint (Understanding Angles)
Before you brush once, you must understand how to brush. Random brushing leads to forks (where waves collide and don’t connect).
Imagine your head is a clock, and your “Crown” (the swirl on the back-top of your head) is the center of that clock. You must brush out from the center.
- Top: Brush straight forward toward your hairline.
- Top Right/Left diagonal: Brush toward the corner of your forehead.
- Sides (Right/Left): Brush diagonally down toward your cheeks/jaw (not straight down).
- Back right/left diagonal: Brush toward the back of your ears.
- Back: Brush straight down toward your neck.

Crucial Tip: Find your natural crown spot in the mirror. All your brush strokes must originate from exactly that spot every single time.
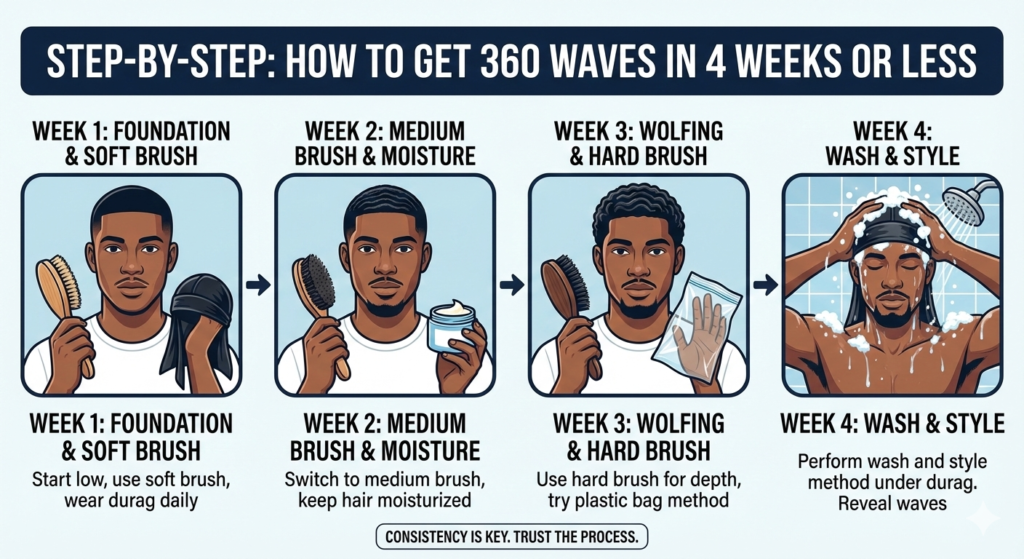
Phase 3: The 4-Week Action Plan
Week 1: The Foundation (The Fresh Cut)
Goal: Establish the brush angles and train the hair direction from day one.
- The Setup (Day 0): Get a haircut. Ask for a “Level 1.5” or a “Level 2” with the grain (in the direction hair grows). Get a low taper on the sides and back. Do not get it cut too short, or there will be no hair to curl.
- The Routine:
- Hair is short, so use your Soft Brush primarily.
- Apply a dime-sized amount of moisturizer and a few drops of oil. Rub it thoroughly into your hair in the direction you intend to brush.
- Brush Session (30 Minutes Minimum Daily): Break it down. Spend 5–7 minutes brushing the top, 5–7 on each side, and 5–7 on the back. Focus on slow, deliberate strokes, ensuring every stroke starts at the crown.
- Compression: Put your durag on immediately after finishing your brush session.
- The Rule: If you aren’t brushing or in public showing off your fresh cut, your durag should be on. Sleep with it on every single night. No exceptions.
Week 2: The Ripple Effect
Goal: Maintain the pattern as hair grows. You should start seeing ripples forming.
- The Shift: Your hair is growing slightly. You may need to switch to your Medium Brush for the main part of your session to feel the pull on your scalp. Use the soft brush only to finish up and lay down stray hairs.
- Increase Intensity: Try to increase your brushing time to 45 minutes a day if possible. The more you brush, the faster the waves come.
- The Plastic Bag Method: Before you rag up, put a cheap plastic grocery bag over your hand and rub your hair in the direction of your wave pattern for 5 minutes. The plastic generates static electricity and lays down stubborn frizz better than a soft brush.
- Do NOT Wash Your Hair (Yet): Washing resets your progress if done incorrectly. If your hair feels dirty, look up a “cowash” (washing only with conditioner) method for wavers.
Week 3: Entering the “Wolf”
Goal: Managing thickness and deepening the waves.
- What’s Happening: Your hair is getting thick enough to curl up. You will see more definition, but also more frizz. This is called “wolfing.”
- The Routine: You are now exclusively using your Medium Brush. If your hair grows very fast, you might need the Hard Brush to penetrate down to the scalp.
- Moisture is Key: Thicker hair needs more moisture. Don’t skimp on the leave-in conditioner, or your hair will look like a dry afro instead of waves.
- Double Compression: If your hair is springing up despite the durag, wear a stocking cap over your silky durag at night for extra compression.
Week 4: The Challenge and The Reveal
Goal: Locking the pattern in during a wash.
Your hair is likely getting unruly. You need to wash it, but a regular shower wash will destroy 3 weeks of work. You must perform a “Wash and Style.”

The Wash & Style Method (Crucial Mid-Week 4):
- Wet your hair in the shower or sink.
- Apply shampoo and scramble wash (rubbing wildly) to clean the scalp. Rinse.
- Apply shampoo again. Do NOT scramble. Look in the mirror and brush the shampoo into your hair using your wave angles with a medium brush. Brush until the soap lather is thick, and your pattern is laid down.
- The Secret: While the soapy lather is still in your hair, put your durag on tight.
- Get back in the shower and rinse the soap out through the durag. Do not take the durag off.
- Let your hair air-dry completely (this may take 4–6 hours) while wearing the durag. Do not touch it until it is bone dry.
- Unrag. The waves will be set. Apply oil immediately with a soft brush.
Final Review after 4 Weeks
At the end of Week 4, you have a decision to make.
- Option A (The Reveal): Go to the barber and get a Level 2 cut with the grain (or a 2.5 if you want them deeper). Your waves will pop.
- Option B (The Journey): Keep wolfing for another 2–4 weeks before cutting. This will make the waves much deeper and more connected in the long run.
Summary Checklist for Success:
- [ ] Brush 30–60 minutes every single day.
- [ ] Never brush dry hair.
- [ ] Sleep in a durag every single night.
- [ ] Start every brush stroke from the crown.
- [ ] Consistency beats intensity. Brushing 30 minutes every day is better than brushing 2 hours once a week.
Other Wave Tips
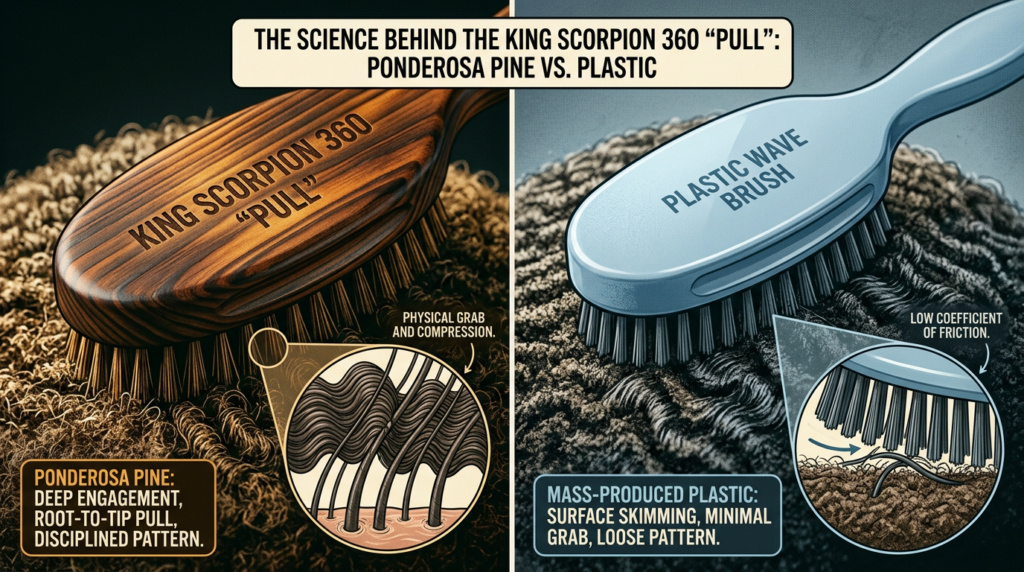
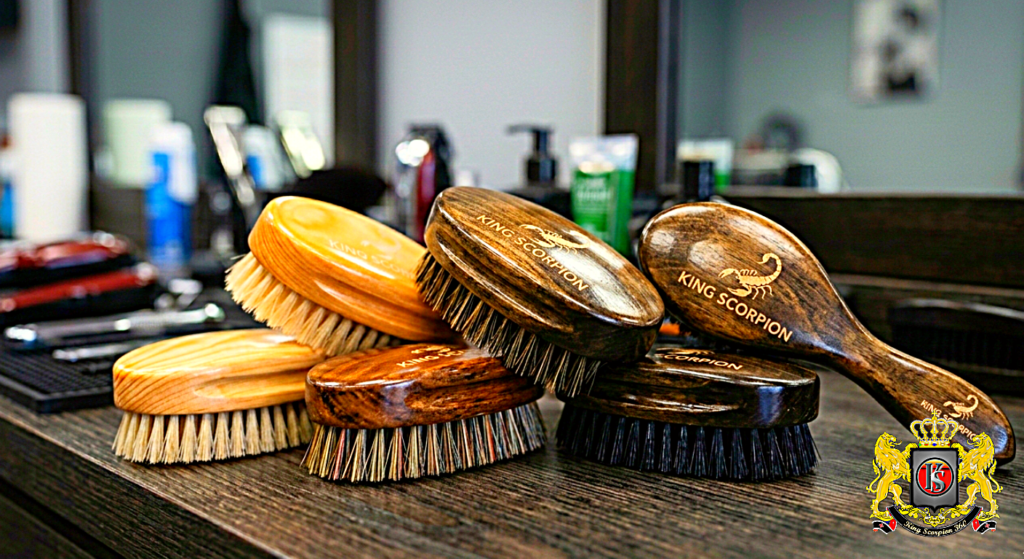
Ponderosa Pine vs. Plastic: The Science Behind the King Scorpion 360 “Pull”
In the world of elite 360 waves, the “pull” is everything. It is the tactile sensation of a brush grabbing hair from the root and shifting it into a disciplined pattern. While mass-produced plastic brushes dominate the shelves of big-box retailers, serious wavers and master craftsmen are increasingly turning toward a more traditional, high-performance material: Ponderosa Pine.
But why does a King Scorpion 360 feel fundamentally different than a standard plastic brush? The answer lies in the intersection of physics, material science, and the specific anatomy of the King Scorpion design.
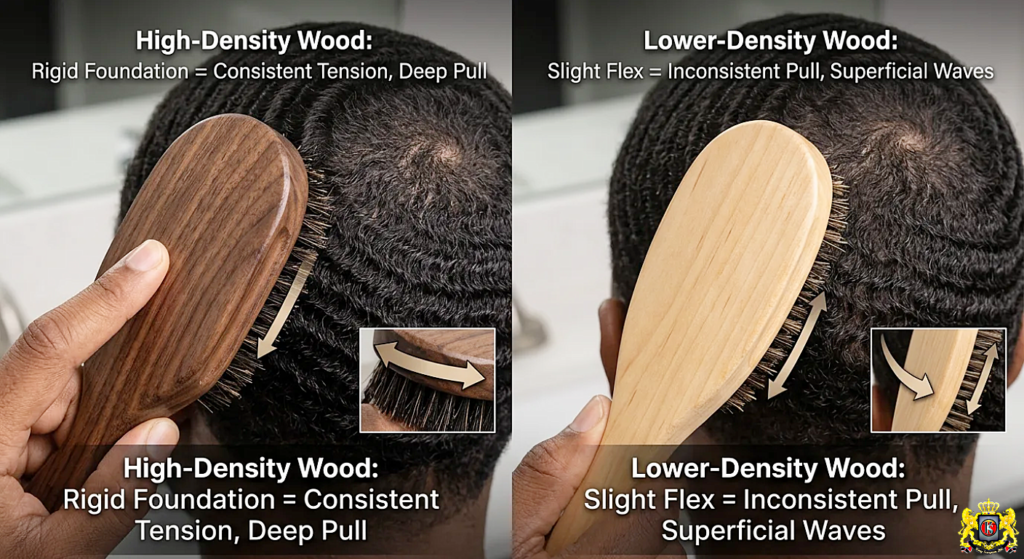
The Foundation of the Pull: How Wood Density Impacts Your 360 Waves Pattern
In the world of elite waving, the “pull” is everything. It’s that specific mechanical tension where the bristles grab the hair at the root and stretch it into the desired 360 pattern. While most focus on the bristles themselves, the choice of wood is the unsung hero that determines how that tension is delivered to your scalp.
Here is why the high-quality wood used in a King Scorpion 360 makes a functional difference:
How to Order a King Scorpion 360 Custom Wave Brush
How to Order a King Scorpion 360 Custom Wave Brush
When looking to enhance your grooming routine, especially for achieving the perfect 360 waves, a custom-made King Scorpion 360 Wave Brush can be an excellent choice. Here’s what you need to know before placing your order to ensure you get the best brush tailored to your needs.
Why Is the King Scorpion 360 Wave Brush Expensive?
Discover why the King Scorpion 360 Wave Brush is worth the investment. Crafted with precision and advanced technology, this brush delivers exceptional quality and durability. With its reputation for excellence and its ability to create well-defined waves, it’s more than just a grooming tool—it’s a symbol of prestige and style. Find out why this brush is worth every penny and take your grooming experience to new heights. Shop online from trusted sites to ensure authenticity and compare prices for the best deal. Achieve flawless 360 waves with the King Scorpion 360 Wave Brush.
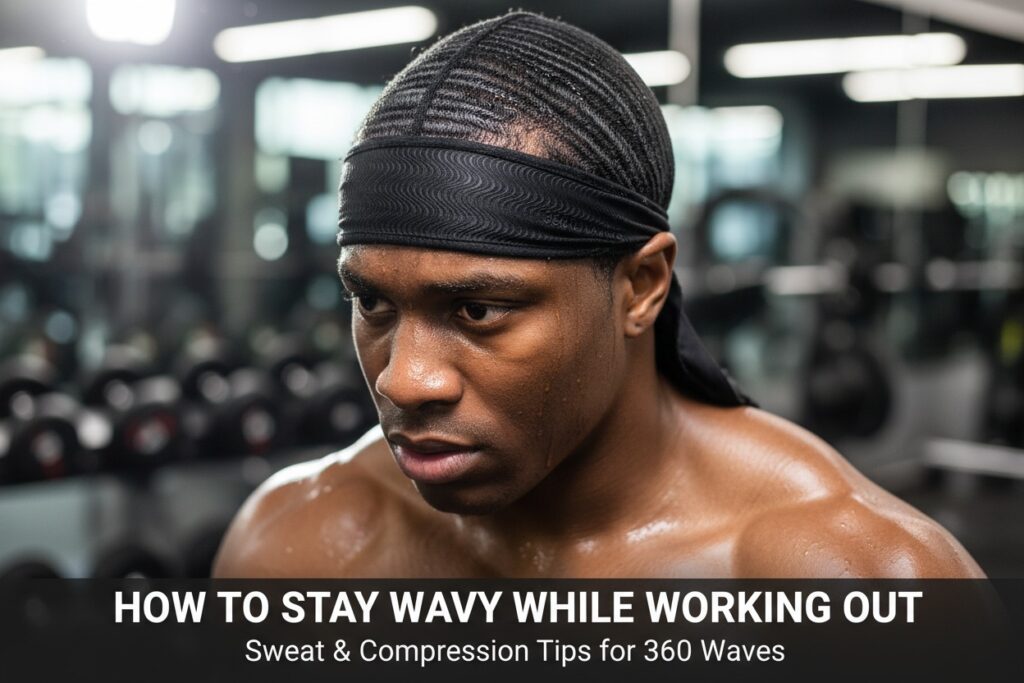
How to Keep Your 360 Waves Looking Good While Working Out: Sweat and Compression Tips
Maintaining deep, connected 360 waves requires a level of discipline that often feels at odds with a high-intensity fitness routine. Salt-heavy sweat can dry out hair, while movement can shift your pattern, potentially undoing weeks of “wolfing” progress in a single session.
However, fitness and waves aren’t mutually exclusive. By treating your workout as a specialized maintenance phase rather than an obstacle, you can preserve your progress while hitting your personal bests.
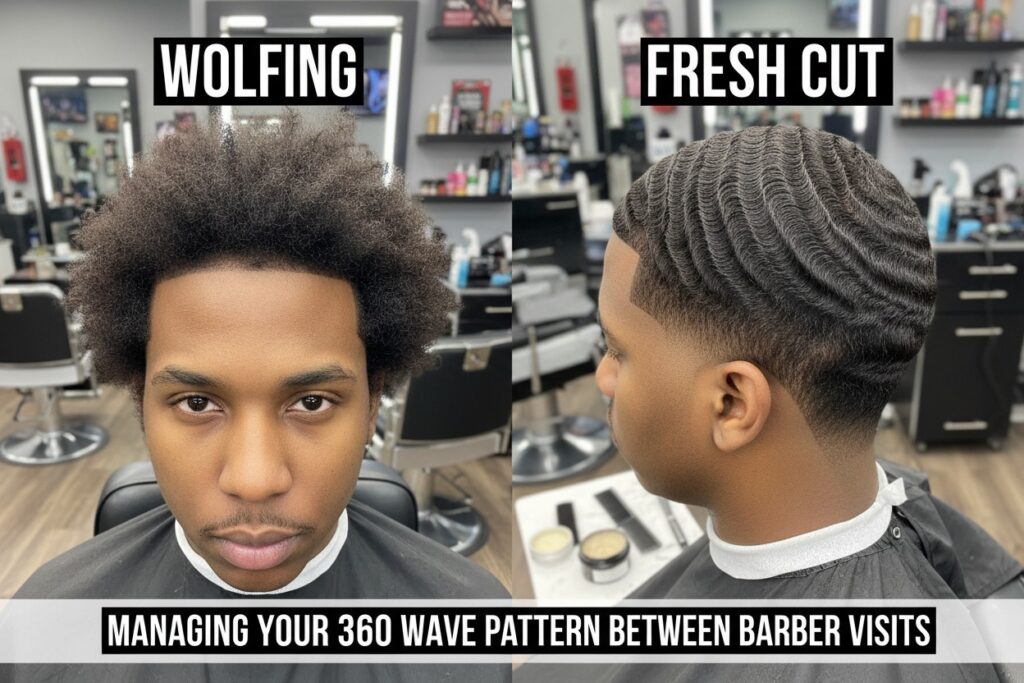
Wolfing vs. Fresh Cut: Managing Your Pattern Between Barber Visits
The wave journey is a pendulum swinging between two extremes: the crisp, flawless perfection of a Fresh Cut and the rugged, grueling discipline of Wolfing.
Most wavers look great when they step out of the barbershop. But the true masters—the ones with 3D depth and flawless connections—know how to manage their pattern when the hair gets thick and starts fighting back. The secret to elite waves isn’t just how you brush; it’s how you adapt your routine to the length of your hair.
Here is the master guide to navigating the three distinct phases between barber visits without losing your progress.
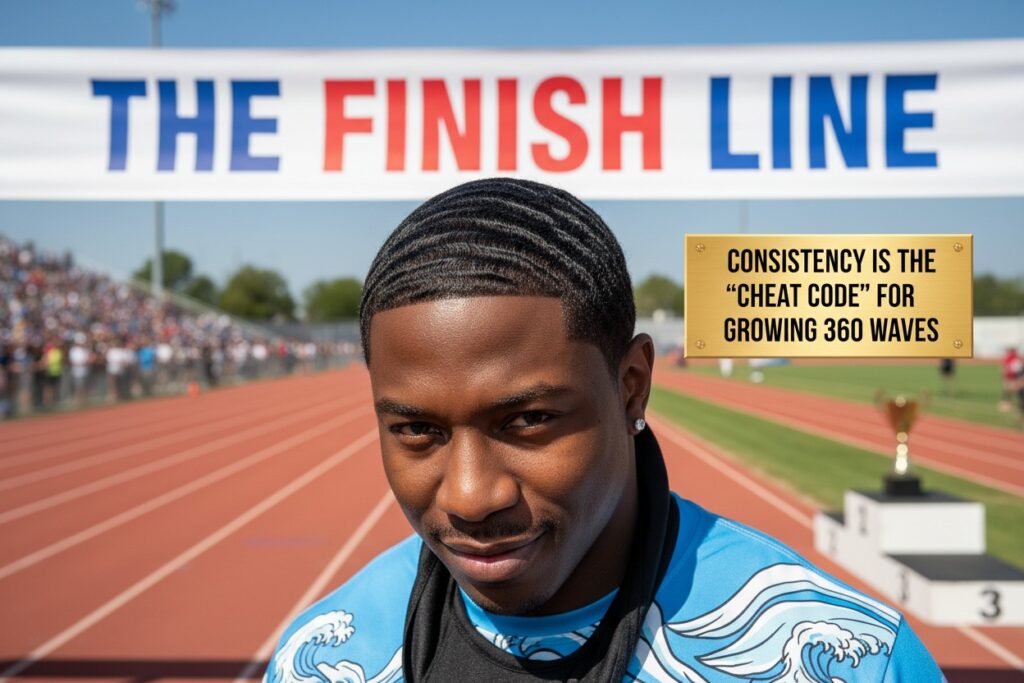
The Finish Line: Consistency is the Real “Cheat Code” for Growing 360 Waves
The Finish Line: Consistency is the Real “Cheat Code”
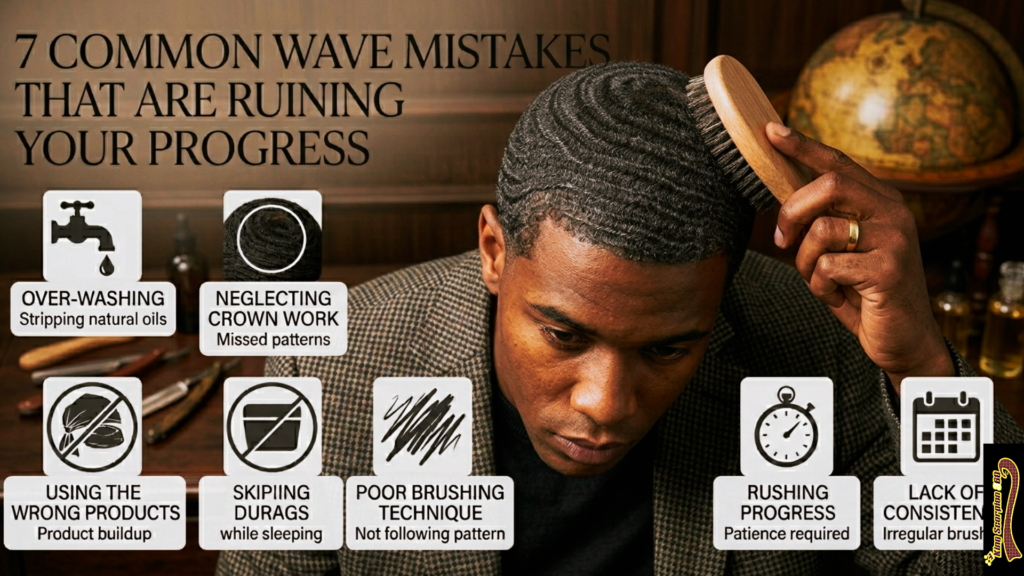
7 Common Wave Mistakes When 360 Waves
You’ve got the brushes, the durags, and the motivation. But sometimes, despite all that “brush work,” your waves seem to plateau—or worse, they start to disappear. Often, it’s not what you’re not doing; it’s the small, subconscious habits that are sabotaging your progress.
If you want to move from “beginner” to “elite,” you have to stop these 7 common mistakes that are holding your pattern back.
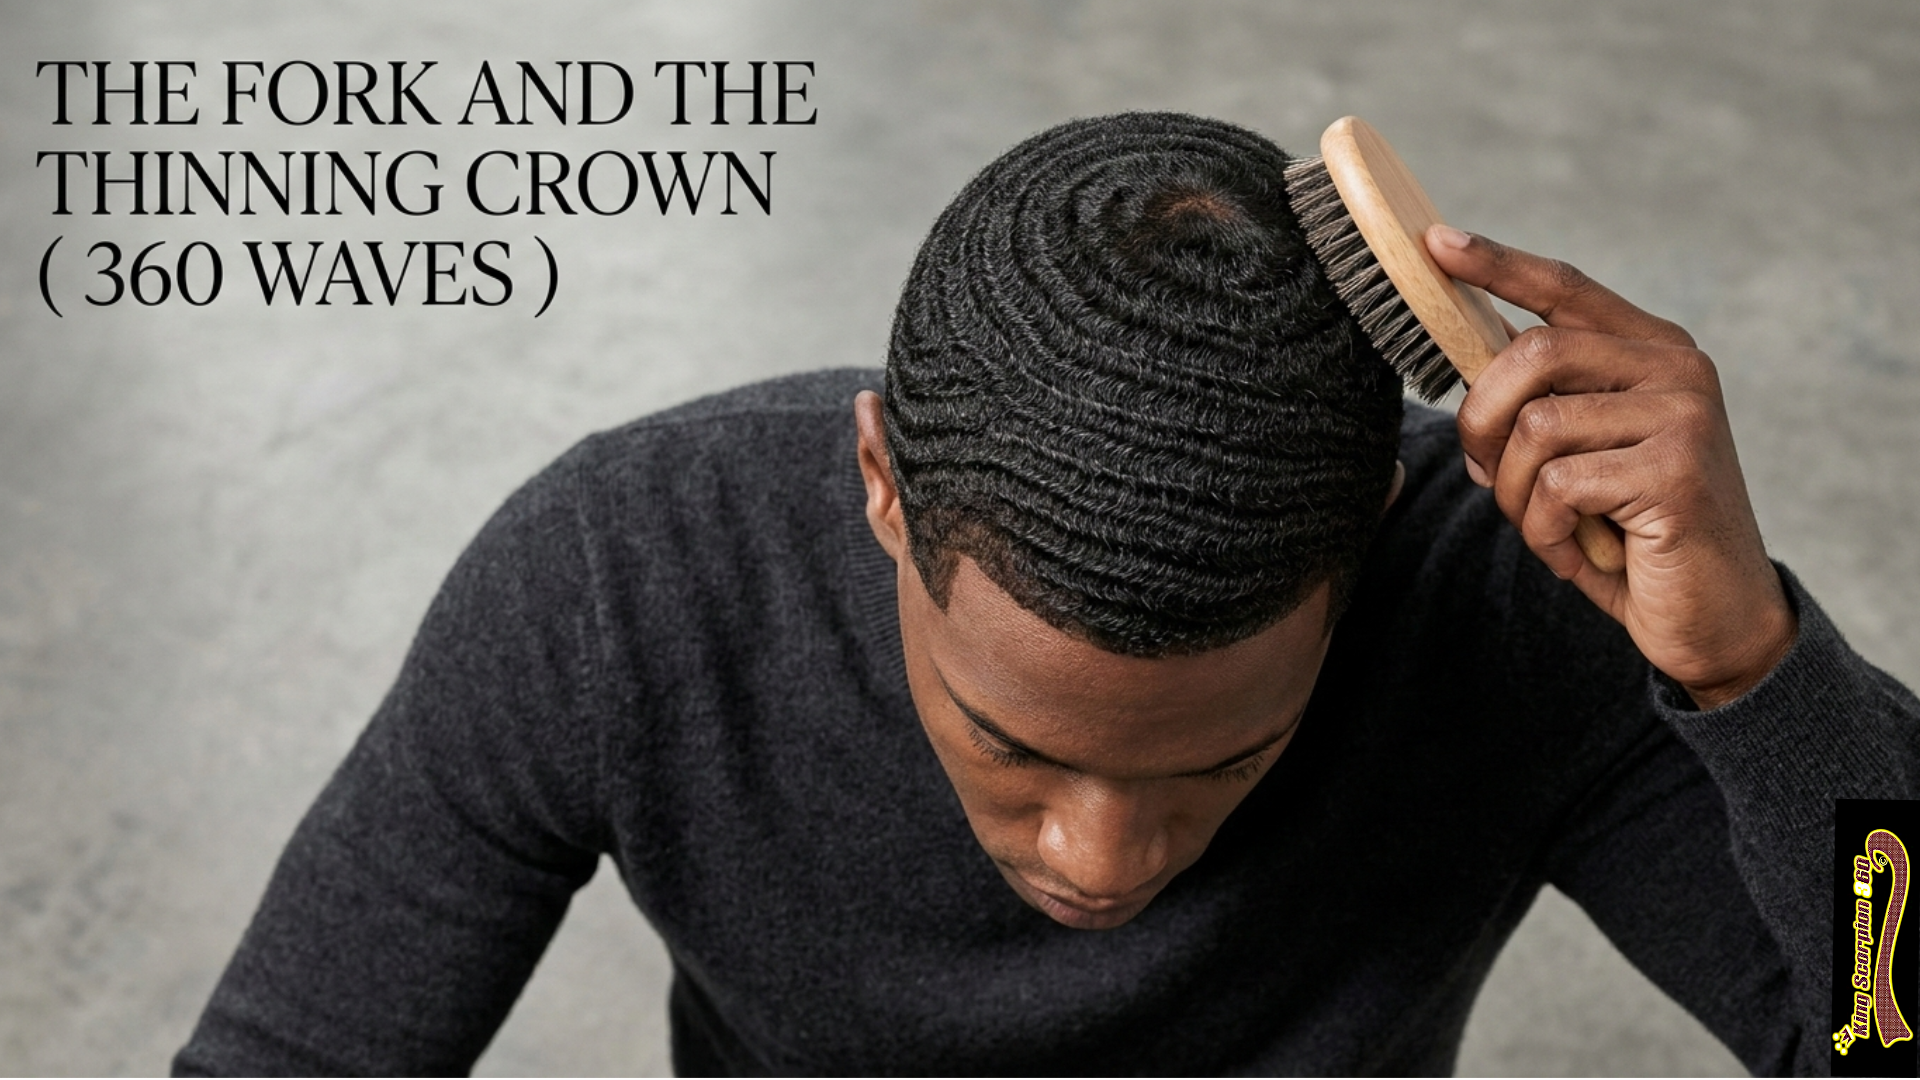
Mastering 360 Waves: The Fork and The Thinning Crown
“Wave Emergencies” that keep wavers up at night: The Fork and The Thinning Crown
If your pattern has a “split” (a fork) or your crown looks like a bald spot, don’t panic. These are fixable with “target practice” routines.

The “Blind Brushing” Trap: Why You Can’t Feel Your Way to 360s
The “Blind Brushing” Trap: Why You Can’t Feel Your Way to 360s – These are the “make or break” moments for any waver trying to reach elite status.
Discover more from King Scorpion 360
Subscribe to get the latest posts sent to your email.